Your co-pilot for efficient driving. Enter a route number, pick a day, and navigate seamlessly between stops — each address opens directly in Google Maps to keep you on track.
01
Open Route Navigator
Head to routenavigator.ca in your browser. The app is public — no login required to start. You'll land on the Navigator screen with the RN badge in the corner.
Note
Works on any device: phone, tablet, or desktop. Add it to your home screen for quick access.
02
Enter your Route #
Type your assigned route number into the Route # field (for example, 700). This is the identifier for your delivery or service route.
Note
The route number is provided by your dispatcher or route sheet. Only digits are needed.
03
Select the Day
Choose the day you're running from the Day selector. Each route can have a different set of stops depending on the day.
Note
Pick today's date or any scheduled day. The stops list updates instantly to match.
04
Review your stops
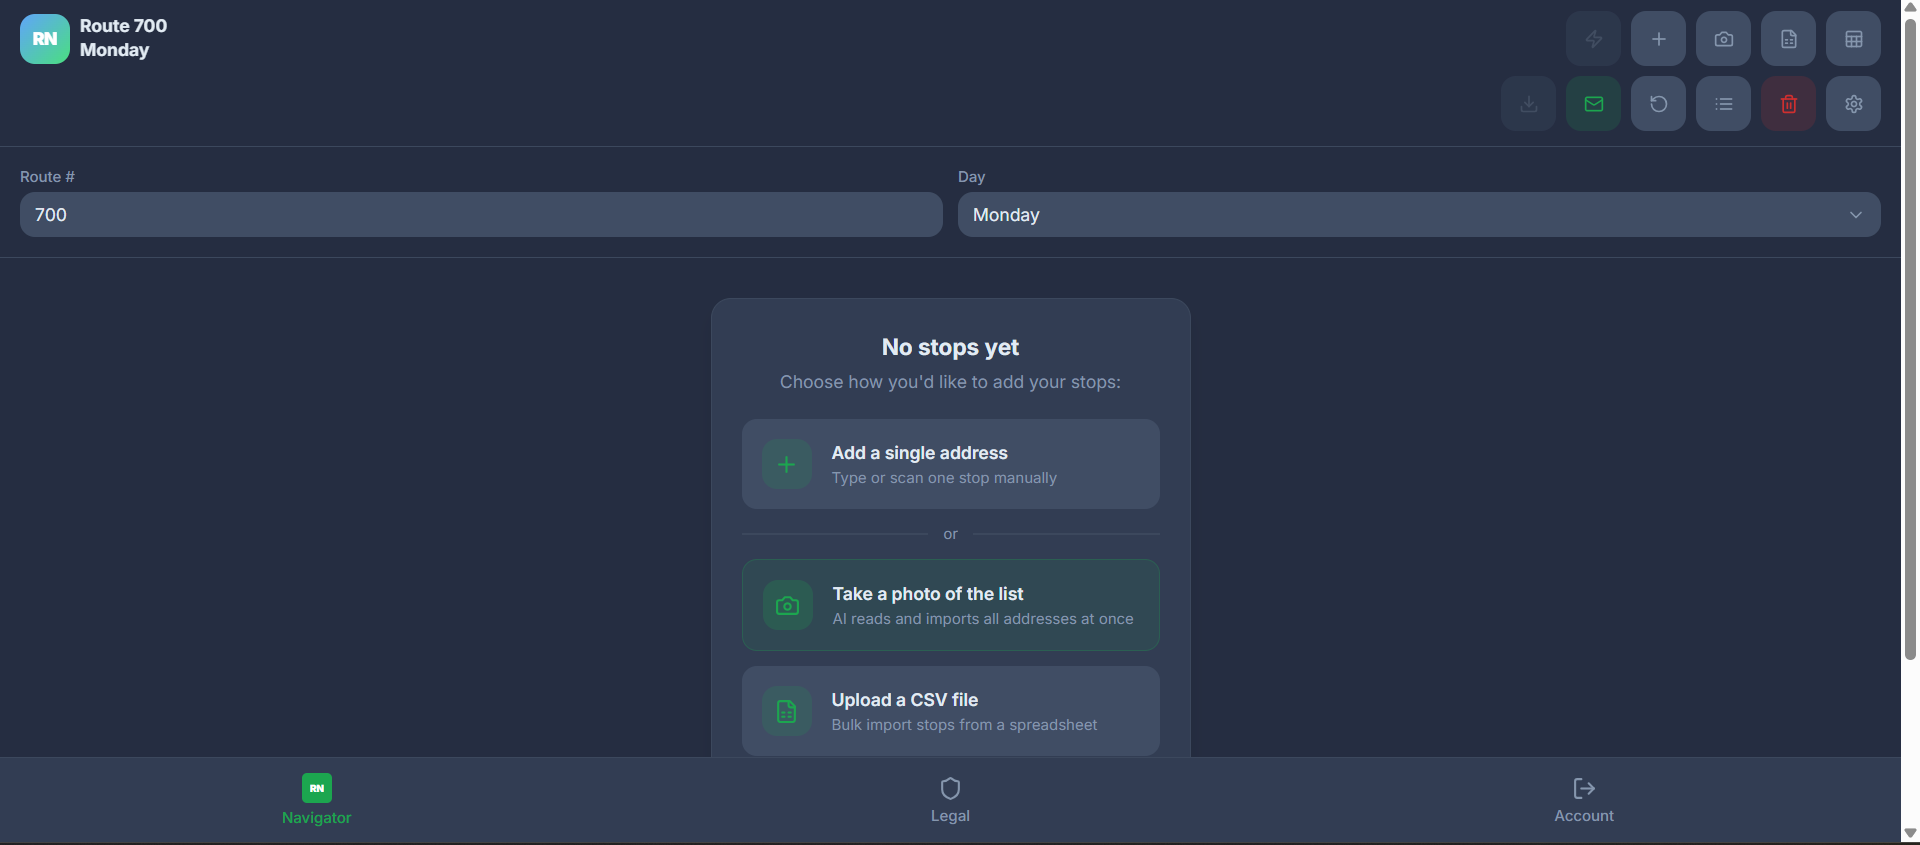
Route Navigator pulls up your ordered list of stops for that route and day. Each stop shows its address in sequence so you can plan your drive. If no stops are loaded yet, the No stops yet card gives you four ways to build your list.
Note
Add a single address, take a photo of your route sheet, upload a CSV, or pull stops from a Google Sheets template.
The No stops yet card with the new Import from Google Sheets option.
05
Optimize your route
Once your stops are in, tap the lightning bolt icon in the top toolbar to optimize their order. Route Navigator re-sequences every stop for the shortest, most efficient path — no manual rearranging needed.
Note
Optimization runs instantly. After it finishes, your list is reordered so each leg is as short as possible. Tap it again any time you add or remove a stop.
The Optimize Route button (lightning bolt) in the top toolbar.
06
Open an address in Google Maps
Tap any stop and its address opens directly in Google Maps — no copy-paste, no searching. Navigation starts immediately from your current location.
Note
Each address launches Google Maps turn-by-turn. Hands stay free, eyes stay on the road.
07
Work through your stops
After each stop, come back to Route Navigator and tap the next one. Move down the list in order — every leg opens in Google Maps to keep you on track.
Note
Think of it as your co-pilot: it holds the sequence, Google Maps handles the driving.
08
Use the bottom navigation
Three tabs live at the bottom: Navigator (your route and stops), Legal (terms and developer contact), and Account (sign out). Tap Navigator anytime to return to your route.
Note
Need to reach the developer? The Legal tab lists the contact email at the bottom.
The bottom navigation bar: Navigator, Legal, and Account.
You're ready to roll.
That's the whole flow — route number, day, and tap-to-navigate. Questions or issues? Reach the developer directly.